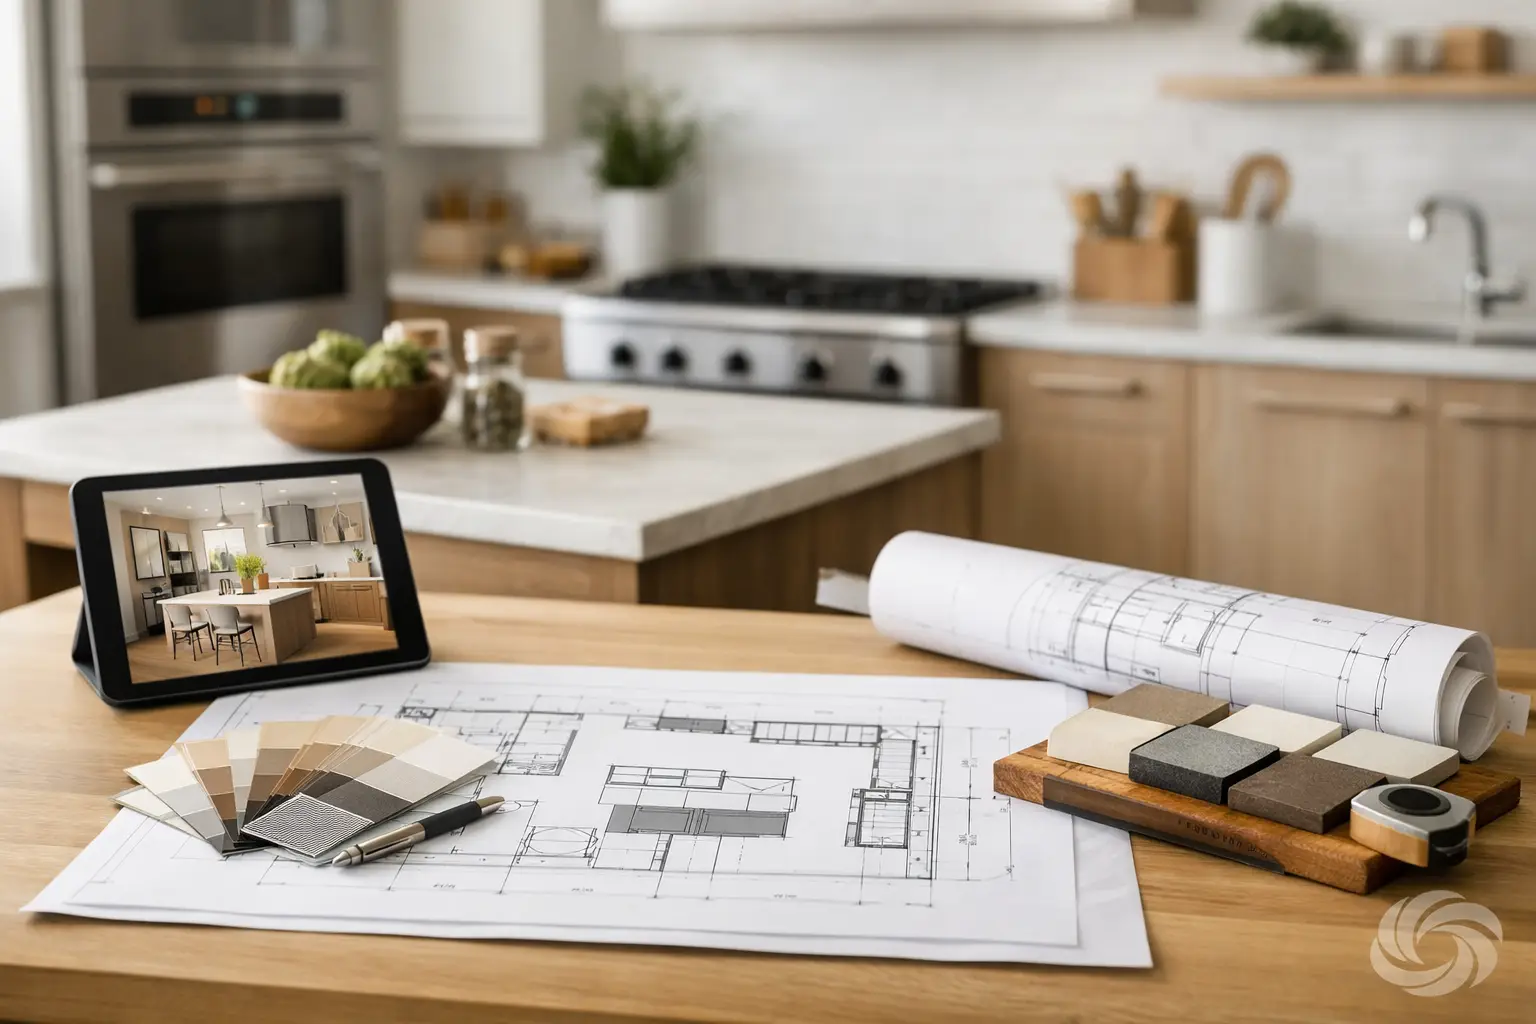
A beautiful cabinet finish cannot fix a kitchen that makes you cross the room for a pan, blocks the dishwasher when a drawer is open, or leaves nowhere to unpack groceries. Knowing how to plan a kitchen layout starts with the way your household actually uses the room, then turns those habits into clear zones, sensible clearances, and cabinetry that earns its space every day.
The best layouts are not necessarily the largest or the most dramatic. They make cooking, cleaning, serving, and storing feel organized. That takes honest planning before cabinet orders, countertop measurements, or demolition begin.
Start With the Room You Have
Measure the kitchen carefully, but do not stop at wall-to-wall dimensions. Record window and door locations, ceiling height, floor vents, bulkheads, plumbing, electrical outlets, heating elements, and any soffits. Note which doors swing into the room and how far they open. These details often decide whether a tall pantry, deeper island, or full-height upper cabinet is practical.
Also measure what will remain. A refrigerator, range, flooring transition, or adjoining dining area may establish limits that are more important than the empty floor plan suggests. In an older home, walls can be out of square and floors can slope. Precise field measurements before production help prevent filler pieces from becoming an unwanted design feature.
If moving plumbing, gas, or major electrical is possible, weigh the benefit against the cost and timeline. Relocating a sink can improve a poor layout, but it is not automatically the right investment. Sometimes a better cabinet configuration, a wider prep area, or improved pantry storage solves the real problem without expanding the scope.
How to Plan a Kitchen Layout Around Work Zones
The traditional work triangle – sink, refrigerator, and range – remains useful because it protects the basic movement of cooking. But modern kitchens work better when you plan zones around the tasks performed there. A household that cooks most nights needs generous preparation space. A family that packs lunches needs accessible refrigeration, drawers, and a landing area. A kitchen used for entertaining needs room for guests without putting them in the cook’s path.
Build a practical sequence
Start with grocery storage near the refrigerator and pantry. From there, create a clear path to a main prep zone, ideally with uninterrupted counter space between the sink and cooktop. Keep everyday dishes, cutlery, cookware, and waste sorting close to where they are used. The dishwasher should be near the sink, with cabinets for clean dishes nearby so unloading does not become a lap around the kitchen.
Think about the small steps. Where will you set grocery bags? Where does a hot tray land when it leaves the oven? Is there a safe place for a coffee maker that does not steal prep space? A layout feels efficient when these ordinary moments have an obvious answer.
Choose the layout that fits the footprint
A one-wall kitchen can work well in condos, suites, and compact homes when storage is planned vertically and the counter is kept as open as possible. Galley kitchens are highly efficient for one or two cooks, but they need enough aisle width to avoid collisions and appliance conflicts.
L-shaped kitchens suit many homes because they create a natural work area while leaving room for a table or island. U-shaped kitchens provide substantial counter and cabinet space, though they can feel tight if the center aisle is too narrow. An island layout is valuable when it adds useful prep space, storage, seating, or a second work zone. It should not be added simply because it is expected in a renovated kitchen.
For a compact room, reducing island depth or choosing a peninsula may preserve better circulation. For a larger room, an island can become the main prep station with deep drawers below and seating on the outer side. The right choice depends on traffic, not just square footage.
Protect Clearances Before Choosing Cabinets
Cabinet doors, drawers, appliance handles, and people all need room to move. Clearances are where an attractive drawing either becomes a comfortable kitchen or a daily frustration.
Plan a comfortable aisle between opposing cabinets or an island and a cabinet run. The exact dimension depends on the room and whether one or two people cook at once, but narrow passages quickly become a problem when a dishwasher, oven, or refrigerator door is open. Avoid placing the range directly beside a high-traffic path, especially near an exterior door or seating area.
Check appliance specifications early, including handle projection and required ventilation. A refrigerator may need clearance to open fully. A wall oven needs a safe landing space nearby. A dishwasher can interfere with access to the sink or trash pullout when its door is down. These are easy problems to miss on a simple sketch and expensive to correct after installation.
Seating deserves the same attention. Allow room behind stools for people to sit, stand, and pass through. If the island backs onto a busy hallway, shallow seating or no seating may be the more functional decision. It depends on whether the kitchen is primarily a workspace, a gathering place, or both.
Plan Storage From Your Actual Inventory
Count what you own before deciding how many cabinets you need. Large cookware, baking sheets, food containers, small appliances, bulk groceries, serving pieces, and cleaning supplies all have different storage requirements. A cabinet plan should fit those items, not force them into whatever empty boxes happen to be available.
Deep drawers are often more practical than lower cabinets with shelves because pots and dishes come to you instead of disappearing at the back. A tall pantry can replace several smaller cabinets, but only if shelves, pullouts, or internal organization make the full depth accessible. Near the sink, consider storage for waste, recycling, cleaning products, and dish towels. Near the cooktop, plan for pots, utensils, spices, and oils.
Use a short design brief to keep decisions focused:
- List the items that currently create clutter or are difficult to reach.
- Identify the appliances that need a permanent home on the counter.
- Decide which items should be accessible to children and which should be stored higher.
- Separate everyday storage from occasional serving and holiday items.
This exercise also helps control the budget. Specialty inserts can be excellent when they solve a real annoyance, while a simple drawer configuration may be the better value in another area.
Balance Cabinet Style With Long-Term Performance
Door style and color matter, but cabinet construction matters just as much in a hardworking kitchen. Durable cabinet boxes, quality hardware, secure installation, and precise alignment support the finish you see every day. Solid plywood construction can provide a strong foundation for cabinets carrying heavy dishes, pantry goods, and countertop loads.
For visual planning, consider how the room connects to the rest of the home. Light finishes can help a compact kitchen feel more open, while warmer wood tones add depth to large, bright spaces. Dark cabinets can be striking, but they may show fingerprints or reduce the visual openness of a room with limited natural light. There is no universal best choice. The right finish is one that fits the light, maintenance expectations, and overall character of the home.
Countertop and backsplash selections should be made alongside the cabinet plan, not afterward. Their thickness, edge details, outlet placement, and pattern can affect the final proportions. If a full-height backsplash or under-cabinet lighting is part of the plan, coordinate it before installation begins.
Keep the Budget Connected to the Layout
A smart layout protects the renovation budget because it reduces late changes. Before finalizing, separate must-haves from nice-to-haves. Must-haves might include a better pantry, enough prep space, soft-close drawers, or a dishwasher that opens without blocking the room. Nice-to-haves may include decorative glass doors, an appliance garage, or seating for four instead of two.
Be cautious about spending heavily on features that reduce useful storage or create complicated installation conditions. Moving every service line, adding an oversized island, or filling a small kitchen with tall cabinets may look impressive on paper but add cost without improving daily use. Clear pricing and a detailed scope help you see where money is going before work starts.
A full-service kitchen team can coordinate design, cabinet production, delivery, installation, final adjustments, and cleanup under one organized process. That reduces handoffs between trades and gives you a clearer timeline. At Emcab Kitchens, planning begins with a conversation about your space, storage needs, finish preferences, and budget so the final layout is built around real priorities, not a generic template.
Test the Plan Before It Becomes Permanent
Review the proposed layout as if you were using it on a busy weeknight. Walk from the refrigerator to the sink, then to the prep area and range. Open the dishwasher, refrigerator, drawers, and oven door in your mind at the same time. Picture two people cooking, someone unloading groceries, and a child getting a drink. If the plan becomes crowded in that exercise, it will feel even tighter once the kitchen is finished.
Ask for cabinet elevations and a clear explanation of what is inside each cabinet. Confirm appliance locations, countertop edges, fillers, lighting, hardware, and any changes to utilities. A careful final review creates fewer surprises during installation and leads to a kitchen with quality you can see and feel.
The most successful kitchen layout is the one that makes ordinary routines easier: groceries put away quickly, counters available when you need them, and every cabinet opening with a purpose.